en | de

Tactile measurement technology:

In this advanced measurement technique one may see the beginning of modern 3D coordinate measuring. The principle of the touch-trigger measurement method is the mechanical touch of the part. The outputs of measured quantities are processed to xyz-coordinates through measurement software.

dim company uses motorised indexing heads made by Renishaw. The probe elements are made of ruby. Measurement results contain The geometrical variation of the probe elements, the deviation of position and shape of the analyzed part as well as the error of the positioning capability of the CMM. The CNC control system takes care of a stabile scanning behaviour in XYZ-Axis throughout the hole measuring volume.

Measurement and testing, as well as the parameters for calibration and adjustment can always be traced back to international SI units. Therefore we only use DAkkS-calibrated reference standards. Probe elements also are tested and if needed corrected in regard of the position of the indexing head.

Get more Information
We will be pleased to send you our certification documents as PDF.

Industrial computed tomography

Industrial computed tomography (CT) has its origin in medical technology. The adaption of CT for industrial parts was possible because it became possible to measure parts with various sizes, made from different materials with high dimensional accuracy. X-Ray tubes and detectors had to be developed with markedly enhanced X-ray flux and precise detection and positioning units.

The technology uses display of gray tones and processes 2d-x-ray shots to generate a point cloud, from which a 3d-model is generated. Examination of the the generated 3d-model with analysis software enables us to provide qualitative evaluations of compliance with specifications and required dimensional accuracy.

One advantage of the x-ray technology is that internal ledges, undercuts and covered connections can be analysed without destruction of the part. Another advantage is the ability to place sections through the generated model wherever needed and use the sections for blowhole analysis of materials and the analyses of weald seam, bonding and so on, without the need to saw, grind or cut parts.

We will be pleased to send you our certification documents as PDF.
Get mor Information about dim GmbH

Surface-Scanning / Structured bluelight

With the strip light projection technology, known light-dark patterns are projected onto parts and the generated images are taken with a stereoscopic camera .

Using the principle of triangulation, points on the surface are calculated from different angles and put together to compose one surface. The result of this process is a 3D-surface scan that can be measured directly with metrology software.. The surface can also be processed to generate a CAD model through reverse engineering.

The sensor itself uses bluelight technology to avoid influences of surrounding light. In dependence of the measuring field size, an accuracy of up to 5 µm is possible.


Surface-Scanning / Laserscanning

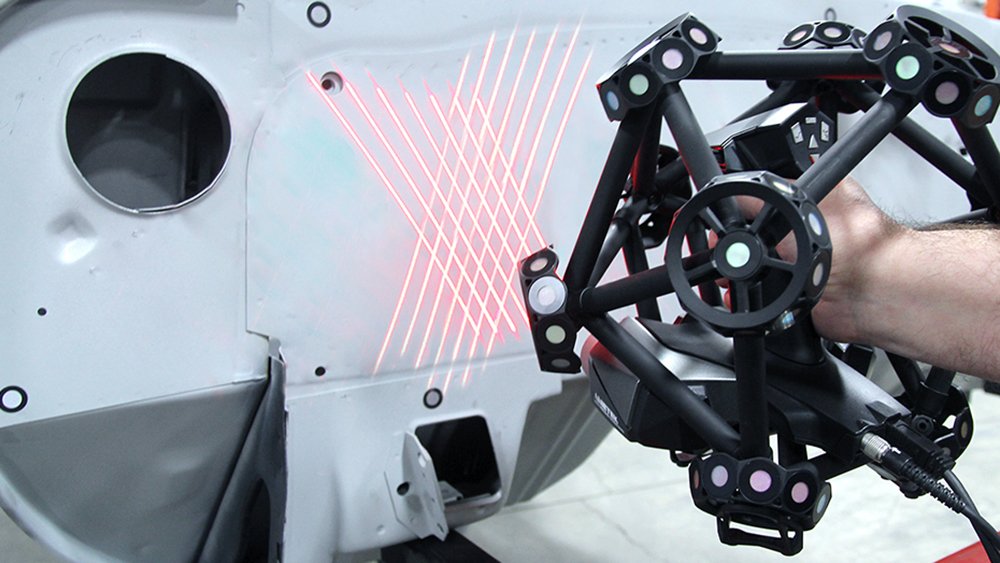
Large measurement volumes (16qm³ and more), astonishing scanning speed that allows to follow the generating process in real time on the display, high accuracy and the ability to even scan shiny and reflective surfaces – this combination make the 3d-crossline-scanner the right measuring tool .

With this technology you get a reliable quality control for large surface prototypes made of steel sheet, metal casting and plastics as well as tools and machines. The whole package combined with optimal mobility – even at your place.

Get mor Information about dim GmbH
We will be pleased to send you our certification documents as PDF.